Configure the footer content in an email template
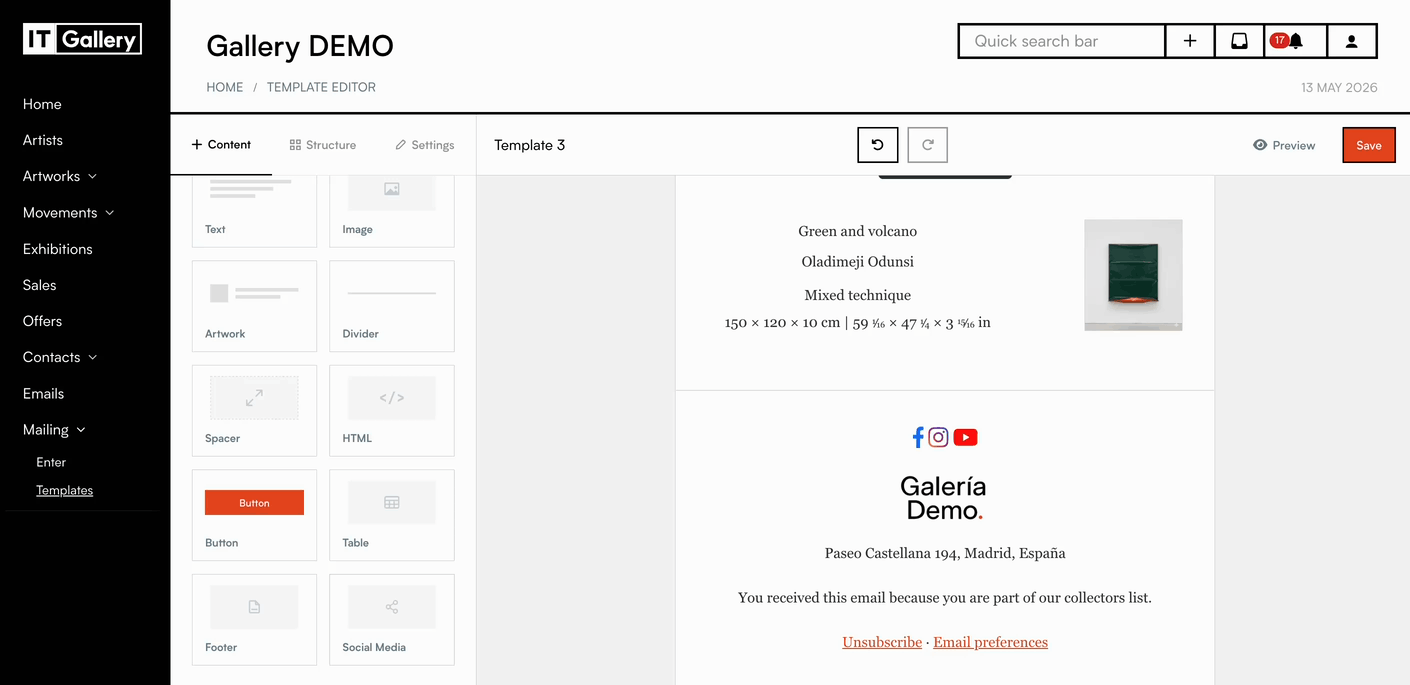
The footer block automatically adds your gallery’s basic information, such as logo, address, and subscription management links.
Add the footer
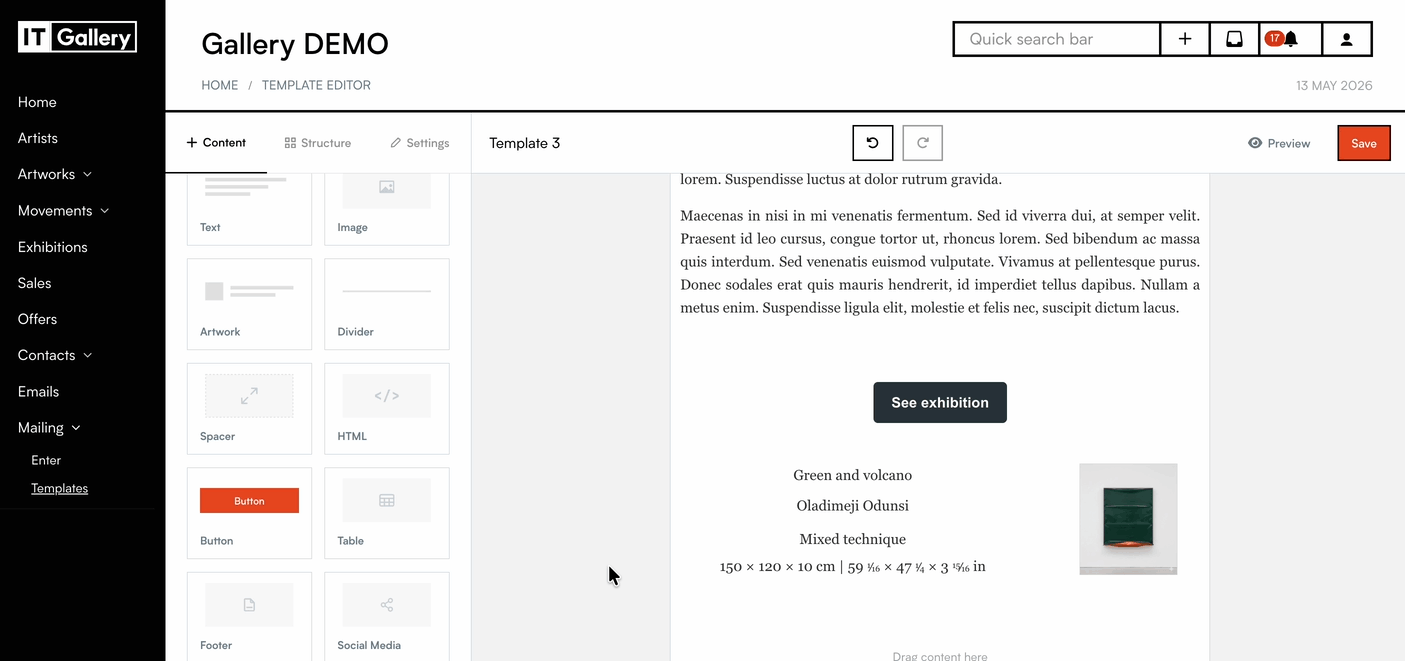
- Go to the template editor from the Mailing module.
- In the left-hand menu, under Content, select the Footer block.
- Drag the block into the position where you want to place it in the template.
Automatic footer content
The footer block automatically includes information configured in your ITGallery account.
- The gallery logo associated with the account is displayed.
- The gallery address configured in ITGallery is included.
- Social media icons
- Contact list subscription
- Subscription links such as Unsubscribe and preferences are added.
Configure social media
- Access the block settings from the left-hand menu.
- Add links to other social media.
- Choose the icon display style and adjust the Icon Size and Spacing between icons.
Configure the logo
Customize how the logo is displayed in the footer.
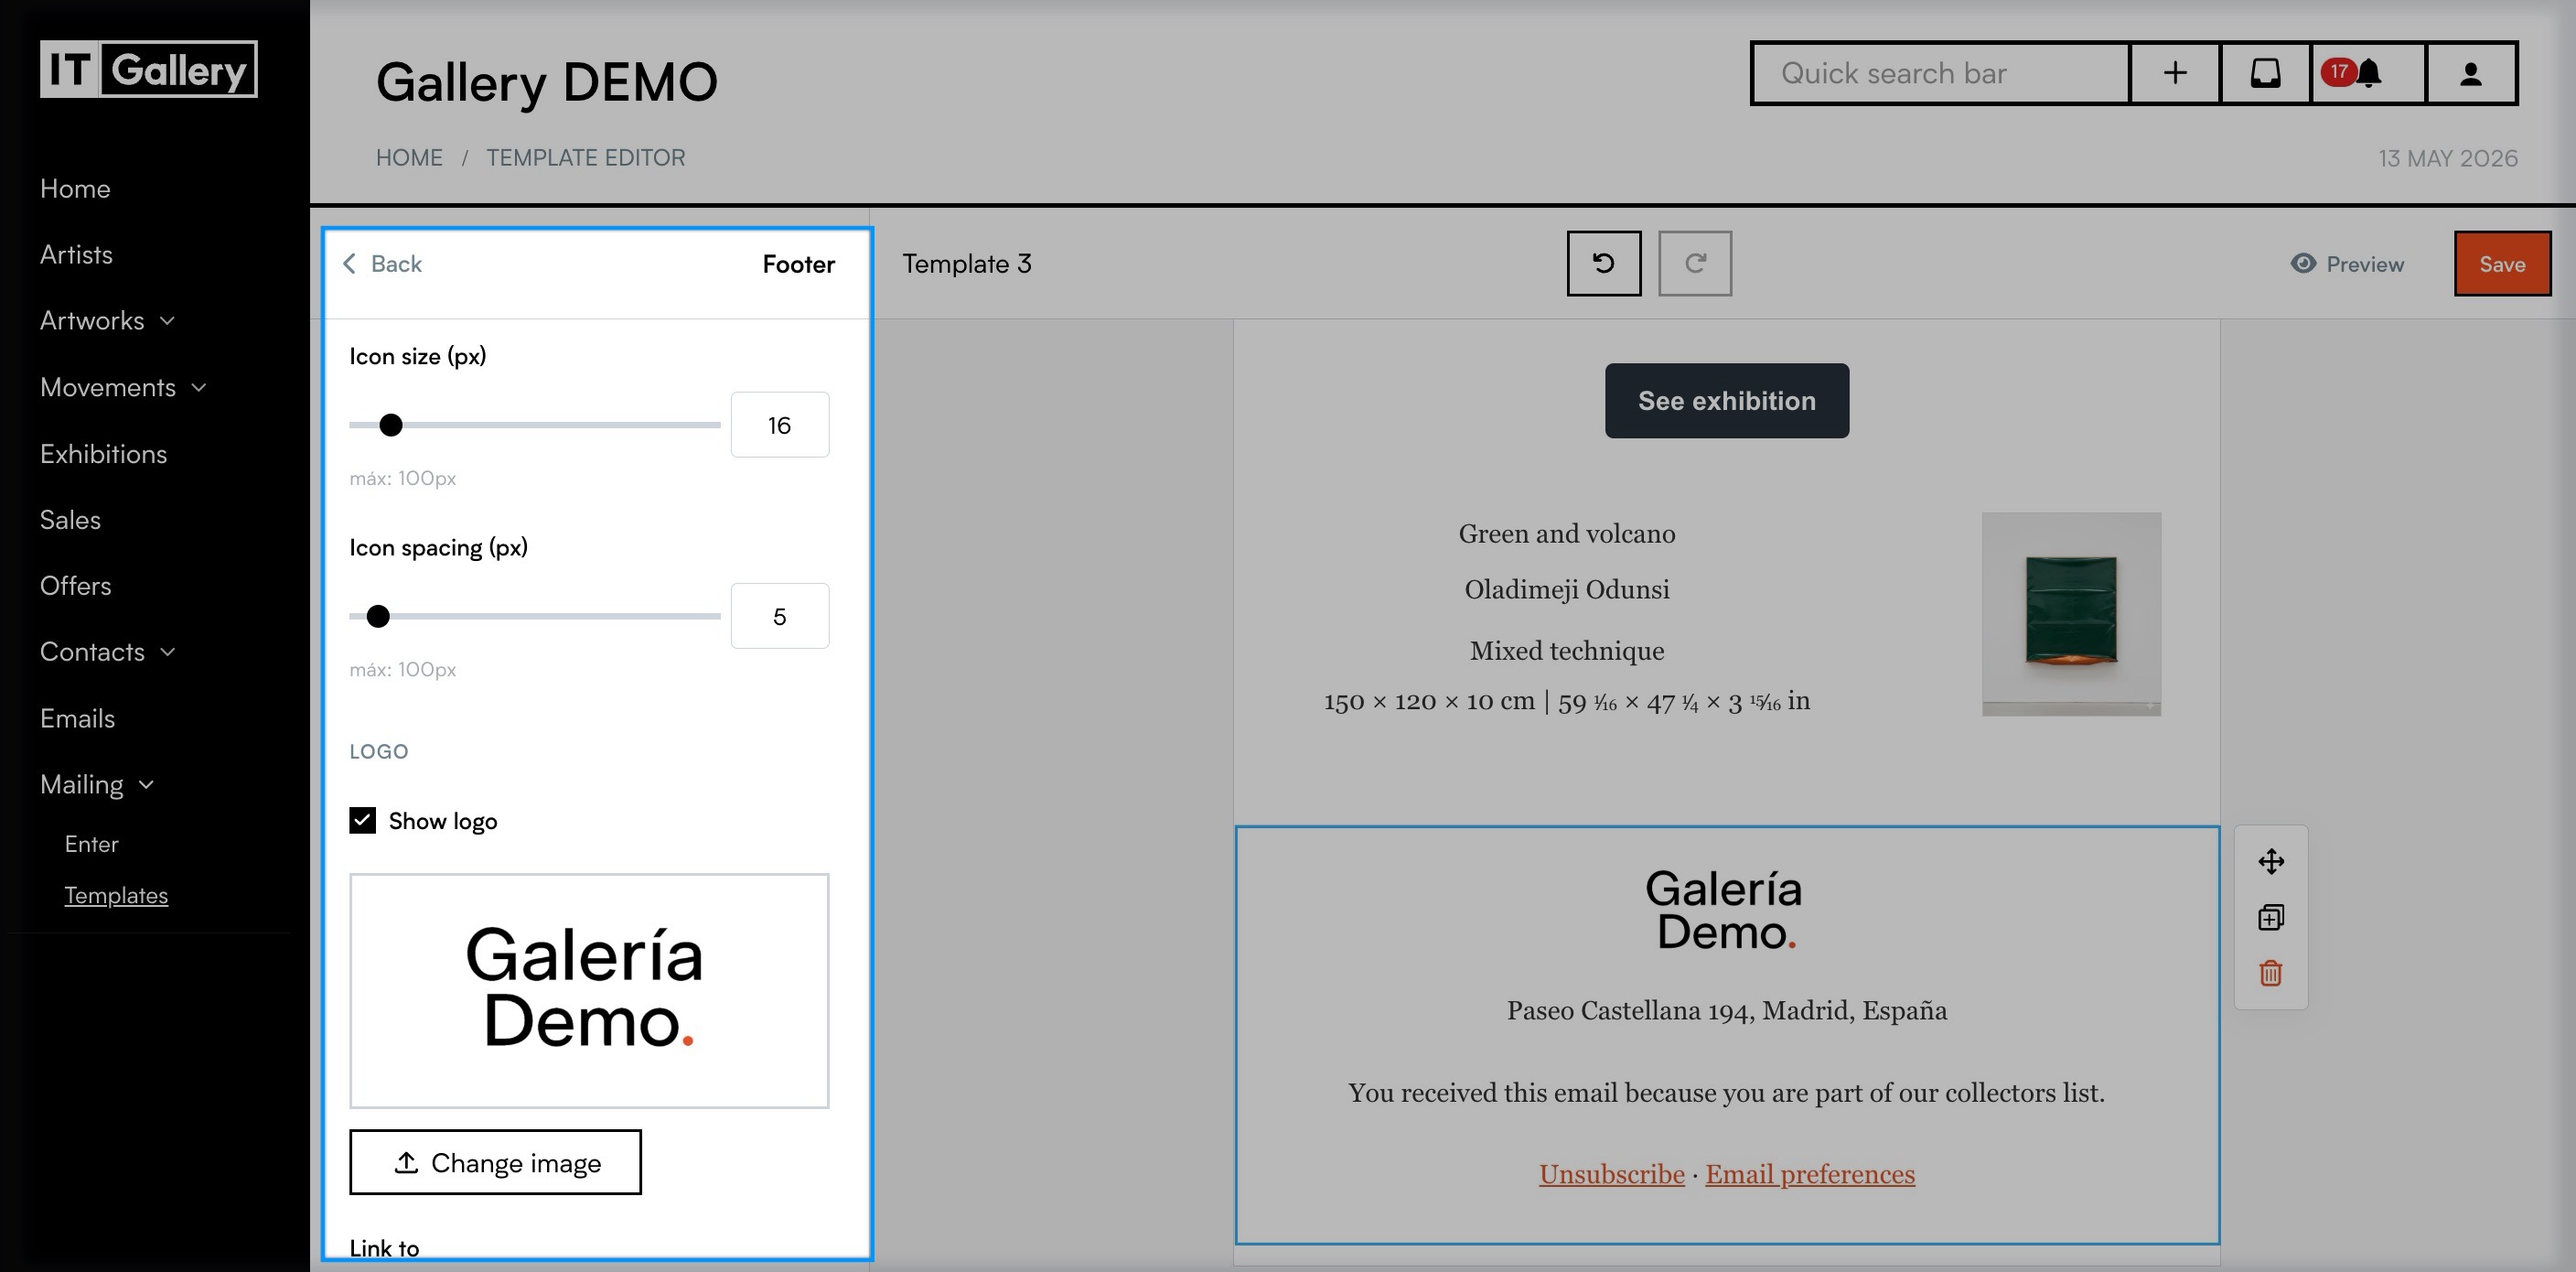
- Enable or disable the logo display.
- Click Change image if you want to use a different logo.
- Add a link to redirect users when they click the logo.
- Enter alternative text for the logo.
Footer block design
Customize the design from the left-hand menu:
- Background color: Apply a background color to the block.
- Border: Define the style (solid, dashed, or dotted), thickness, radius, and color.
- Margins: Adjust the space around the block within the template.